Getting Started
A short walk-through: open Storylet Studio, try a sample storyworld, then build your own. About ten minutes end to end.
Storylet Studio comes in two forms - the Web app and the Desktop app. Most of this guide is the same for both, and we'll flag the differences where they crop up. See The Web App for what differs between them.
1. Install or sign in
Use whichever you have access to:
Web app: sign in with the Google account your administrator has added to your organisation. Nothing to install, and your storyworlds live in your organisation's workspace. (Not sure you have access? See Signing In.)
Desktop app: download the installer from download.storylet.studio:
- macOS: the DMG. Drag Storylet Studio into Applications, then launch it.
- Windows: the installer EXE. Run it, then launch Storylet Studio from the Start menu.
Each storyworld is a single .storyletstudio file on disk. The first time you launch, you'll land on the Welcome screen.
2. Try The Village (a sample storyworld)
Before you build your own, it's worth seeing a finished storyworld in action. From download.storylet.studio, grab The Village under the "Samples" section. You'll get the The-Village.storyletstudio file.
- Desktop app: double-click the file in Finder / Explorer, or use File > Open Project… from the app and pick it. The project opens directly.
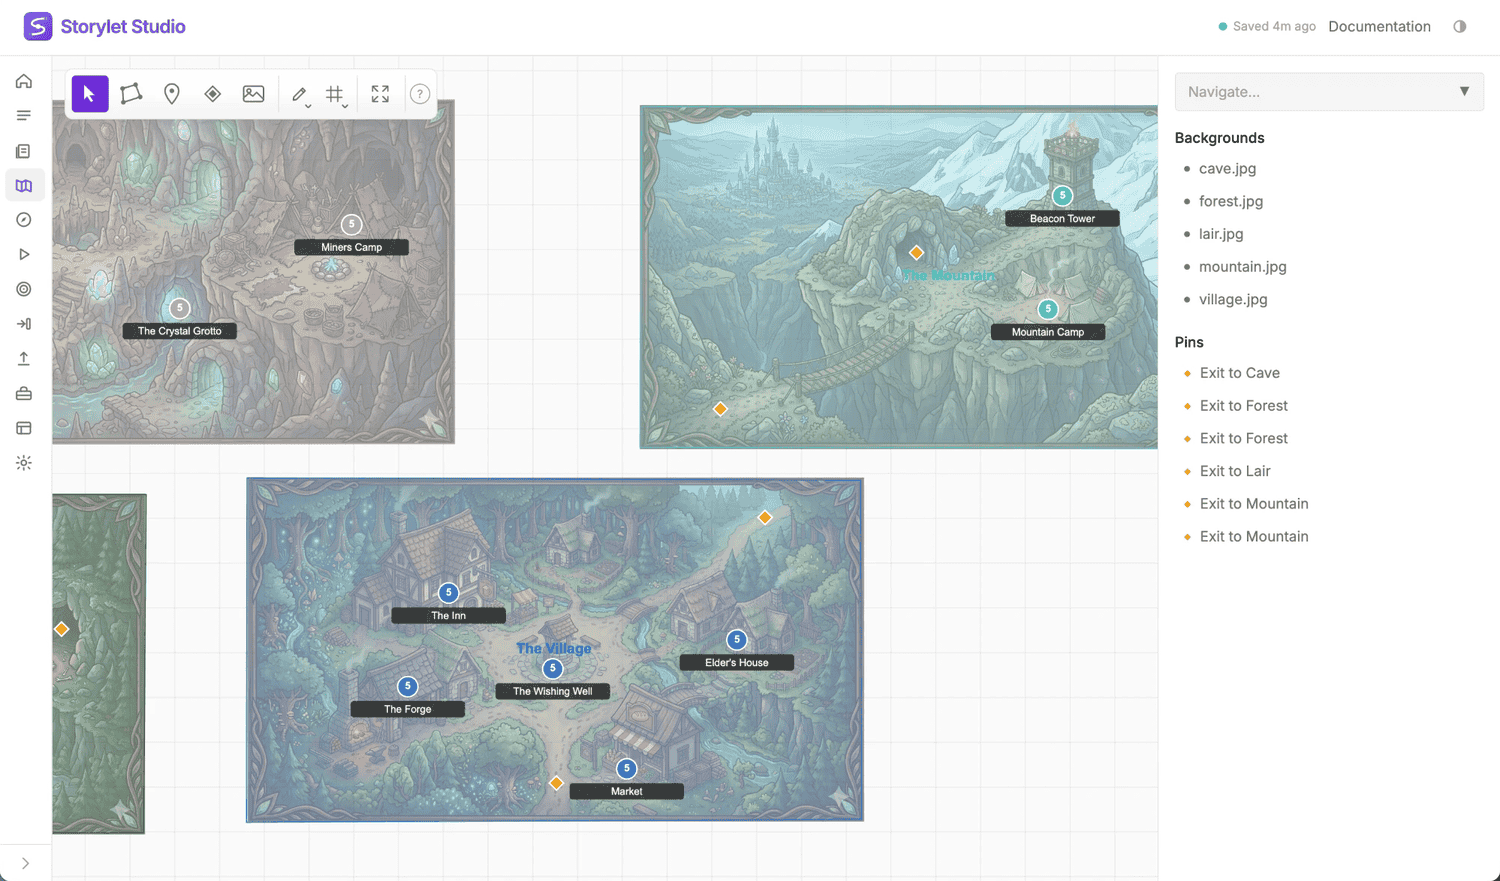
The Village has a small map of zones and sites, a handful of decks, and storylets that react to the player's state. To play through it, open the Storymap and switch to Simulate mode (or jump straight to the Explore tab); you'll watch storylets being drawn, make choices, and see the world state update in response. Then dig into the storylets in the editor to see how their conditions and outcomes are wired up.
There's also a .storyworld (compiled bundle) version of The Village on the downloads page, for dropping into a player shell or a StoryletEngine plugin in a game engine - see the StoryletEngine Plugins section.
3. Create your own project
When you're ready to start authoring:
- Desktop app: from the Welcome screen, click New Project…, pick where to save the
.storyletstudiofile, and give it a name. - Web app: from the storyworld list, click New storyworld and give it a name. From then on it lives in your workspace.
Either way, you land in the editor on a fresh storyworld.
4. Add a deck and a storylet
Every storyworld is built out of storylets (the basic narrative beats), which live in decks. Decks in turn sit inside acts (the high-level phases of your story). Every storyworld comes with a built-in Anytime act, so you don't need to make an act to get going - but you do need at least one deck to hold your storylets.
- Create a deck. The built-in Anytime act is a fine place to put it.
- With the deck open, click New storylet.
- Give it a title and write some body text.
- Save.
That's the minimum. From here you can add conditions (so the storylet only shows up when the world state matches), outcomes (so playing it changes the world state), and game data (custom fields like Ink fragments or dialogue references for your player shell to read).
5. See what you've built
The Storymap > Simulate view (or the Explore tab) plays a session against your current draft, so you can watch your storylets being drawn in context with the world state right alongside. It's the same view you used to play The Village in step 2.
6. Where to next
- Core Concepts - the full vocabulary of storyworlds.
- Writing Conditions and Outcome Values - the expression syntax in detail.
- Coverage Testing - run the storyworld thousands of times automatically and find anything that's unreachable. Worth a check before any share or publish.
- Connections - static analysis of which storylets can enable, disable, or influence which others. Pairs well with Coverage Testing: if Coverage shows a storylet never fires, Connections shows you what (if anything) could turn it on.
- Storylet Studio Desktop - if you're on the desktop build, the details of the file model and OS integration.
- StoryletEngine Plugins - shipping your storyworld through a game engine.
When you're ready to share, Publish produces a .storyworld bundle that a player shell or game engine can read.